How to Repot a Dendrobium Nobile Orchid: Step-by-Step Guide
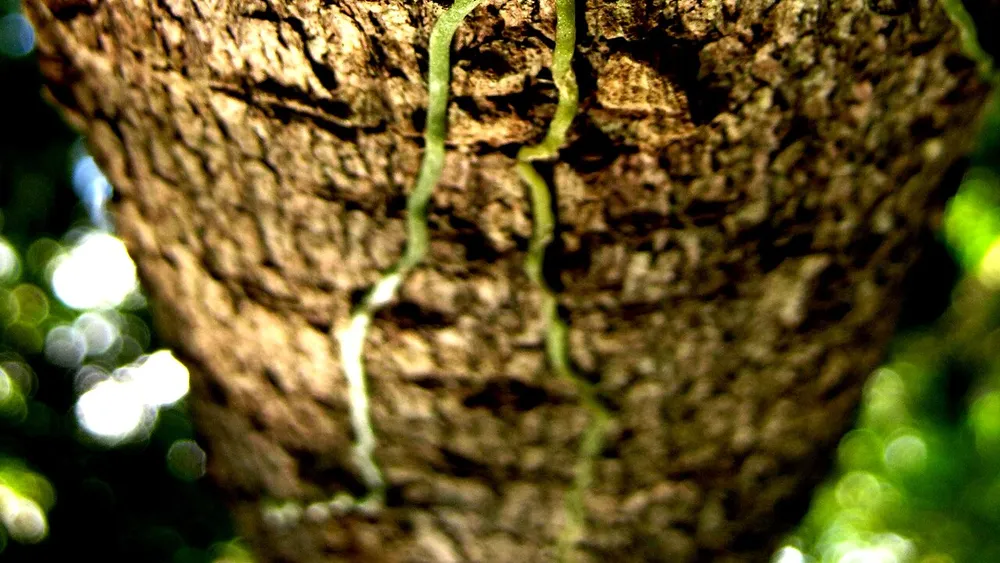
By Linda · Published August 24, 2026
This guide follows American Orchid Society (AOS) repotting standards and Royal Horticultural Society (RHS) cultivation guidelines.
Before you reach for the bark, run this 10-second check:
- 🟢 Mix still chunky, plant healthy and in bloom? → Don’t repot. Leave it alone.
- 🟡 Mix turned dark and spongy, or roots climbing out of the pot? → Repot now.
- 🔴 Soft, hollow black roots or mushy canes? → Repot today — that’s root rot.
If you searched “how to repot a dendrobium nobile” or “how to repot a dendrobium orchid,” this is the complete walkthrough — when to do it, what size pot, and how to nurse it through the next month.
Repot Only When You Have a Reason
Dendrobiums — nobile types especially — resent root disturbance and remember a bad repotting for a full season. The American Orchid Society advises repotting only when the media breaks down or the plant outgrows its pot. You need a reason:
- The mix has decomposed into dark, spongy, soil-like material (the #1 reason)
- The plant is climbing out of the pot, or the canes are badly overcrowded
- Root rot — soft, hollow, black roots, usually from sitting in broken-down media (see the yellow-leaves diagnosis for the warning signs)
- You just bought it in pure sphagnum and your home is humid
If none apply and the plant is growing well: don’t repot. Leave it alone.
Timing: After Flowering, at New Root Emergence
The moment old flowers drop and you spot pale green root tips at the plant’s base, you have a 2–4 week window. Emerging roots adapt to new media; severed mature roots mostly die and rot. The RHS confirms this is the safest moment for repotting deciduous dendrobiums — never repot mid-growth or during the winter rest.
Step-by-Step Repotting
1. Prepare. Presoak fresh media — a medium-grade orchid bark mix works for most indoor homes (add perlite and a little charcoal for airflow; see our potting mix comparison). Grab a slotted orchid pot one size up at most, sterilized shears, and cinnamon or a fungicide for cuts.
2. Unpot. Squeeze or cut the pot if roots have fused to it. Gently crumble away old bark, then rinse the root ball with lukewarm water.
3. Assess roots. Firm white, tan, or green roots stay; anything hollow, mushy, or wiry-dead gets trimmed to healthy tissue with sterilized pruning shears. Trim dead canes (shriveled and yellow through to the base) at soil level.
4. Divide if needed. Each division keeps at least 3–4 canes including the newest — smaller divisions sulk for a season before growing again.
5. Pot. Dendrobium nobile likes being somewhat pot-bound and top-heavy (tall canes tip over). Center the newest growth, fill with bark while tapping — no firm packing — and don’t bury the cane bases deeply.
6. Stake. Tall or pendulous canes need plant stakes and clips before backfilling, or the plant will flop.
7. Aftercare. Wait 5–7 days before the first watering so cut roots seal. Keep slightly shadier and a touch drier for 2–3 weeks, then resume normal care.
Pot, Basket, or Mount?
| Method | Best for | Trade-off |
|---|---|---|
| Clay pot + bark | Nobile types, beginners | Stable, forgiving; dries evenly |
| Hanging basket | Anosmum, lindleyi, pendulous types | Canes arch naturally; needs frequent water |
| Mount (cork/fern) | Species that hate wet feet | Healthiest roots, most watering work |
| Sphagnum in pot | Very dry homes only | Risky — replace yearly |
Common Repotting Mistakes
- Oversizing the pot — “room to grow” means chronically wet mix and root rot. One size up, maximum.
- Watering immediately — invites rot at the cut surfaces. Wait a week.
- Repotting during rest or bloom — you’ll sacrifice the season.
- Deep burying — rhizome and cane bases must sit at or just above the mix surface.
A dendrobium nobile potted correctly in fresh bark typically explodes into new root growth within a month — the clearest sign you timed it right.
Sources
- American Orchid Society — Dendrobium Culture Sheet
- Royal Horticultural Society — Dendrobium nobile care guide
- Kew Gardens — Dendrobium nobile (Sw.)
Related Guides
- Best Potting Mixes for Dendrobiums (Compared)
- Dendrobium Yellow Leaves: 7 Causes & Fixes
- How to Water Dendrobiums
- Winter Rest & Reblooming Guide
FAQ
How often should a dendrobium nobile be repotted?
Every 2–3 years, or when the bark mix breaks down into spongy soil. Dendrobiums resent disturbance, so repot only when necessary.
What is the best time to repot a dendrobium?
Right after flowering ends, when new roots just start emerging from the base — new roots forgive the disturbance.
Can I divide a dendrobium nobile when repotting?
Yes — keep divisions of 3–4 healthy canes minimum. Smaller divisions sulk for a season before growing again.
What size pot should I use?
One size up, maximum. Dendrobium nobile likes being slightly root-bound; an oversized pot holds too much water and causes root rot.
Related Guides
Dendrobium Nobile Light & Temperature Requirements
How much light dendrobium nobile needs, the leaf-color test, temperature ranges for nobile vs phalaenopsis types, and the winter chill that triggers blooms.
How Often to Water Dendrobium Nobile (Seasonal Schedule)
The seasonal rhythm that keeps dendrobium nobile alive and blooming: heavy soaks in summer, a dry rest in winter. Backed by AOS guidelines.
Dendrobium Nobile Not Blooming: 7 Reasons & How to Fix It
Dendrobium nobile not blooming? 9 times out of 10 it skipped its winter rest. The complete fix.
Dendrobium Nobile Yellow Leaves: 7 Causes & How to Fix Them
Dendrobium nobile yellow leaves are usually fixable. Learn the 7 causes — from normal aging to root rot — and exactly how to fix each one.